Insert a table
Applies To
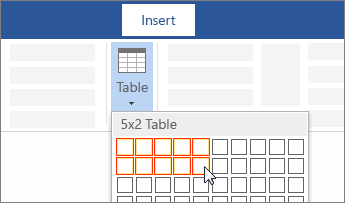
For a basic table, click Insert > Table and move the cursor over the grid until you highlight the number of columns and rows you want.
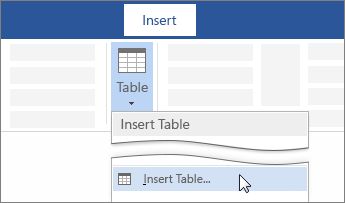
For a larger table, or to customize a table, select Insert > Table > Insert Table.
Tips:
- If you already have text separated by tabs, you can quickly convert it to a table. Select Insert > Table, and then select Convert Text to Table.
- To draw your own table, select Insert > Table > Draw Table.
Insert pictures
Applies To
- Do one of the following:
- Select Insert > Pictures > This Device for a picture on your PC.
- Select Insert > Pictures > Stock Images for high quality images or backgrounds.
- Select Insert > Pictures > Online Pictures for a picture on the web.
- Select the picture you want, and then select Insert.
Resize or move pictures
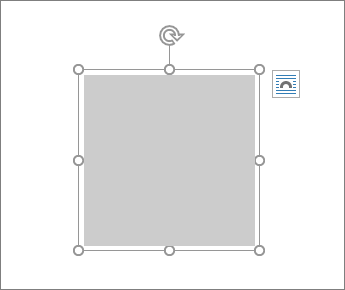
- To resize a picture, select the picture and drag a corner handle.
- To wrap text around a picture, select the picture, and then select a wrapping option.
- Tip: Pick something other than In Line with Text, and you can move the picture around the page: select the picture and drag it.
Insert WordArt
Applies To
- Go to Insert > WordArt
- Pick the WordArt style you want.
- Type your text.

Note: To convert existing text to WordArt, select the text, and then select Insert > WordArt.
Change the color
- Select the WordArt text to change.
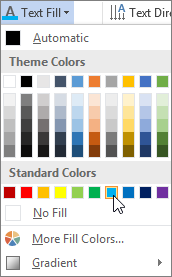
- On Shape Format or Drawing Tools Format, select Text Fill or Text Outline, and pick the color you want.
- Click or tap outside of your text box to see the effect.

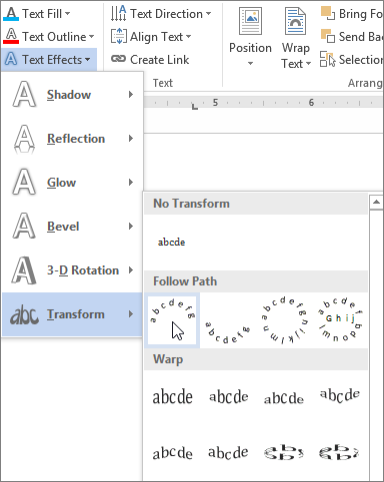
Choose a text effect
- Select the WordArt text to change.
- Go to Shape Format or Drawing Tools Format > Text Effects >Transform.
- Pick the effect you want.
- Click outside of your text box to see the effect.
For more on shaping WordArt, see Curve text around a circle or other shape.
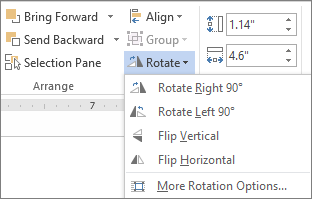
Rotate it
- Select the WordArt, and then drag the circular rotation handle at the top of the box.
- To flip WordArt or rotate it 90 degrees, go to Shape Format or Drawing Tools Format > Rotate, and then select an option.

Change the font
- Select the WordArt text to change.
- Go to Home and select options such as font style, font size, or underline.
Delete WordArt
Double-click the WordArt that you want to remove, and then press Delete.
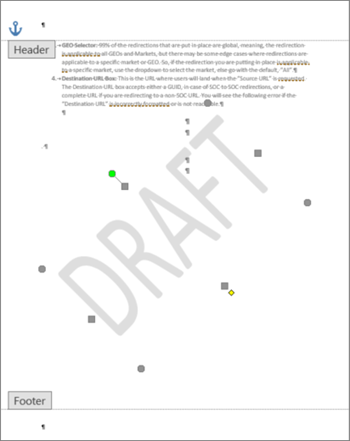
Insert a watermark
Applies To
- On the Design tab, select Watermark.
- Choose a pre-configured watermark, like DRAFT, CONFIDENTIAL, or DO NOT COPY.
- For placing a logo or image, Select Watermark > Custom Watermark > Picture watermark > Select Picture. On the same menu you can create a custom text watermark.
Use a custom watermark
Applies To
First, create your custom watermark.
- On the Design tab, select Watermark > Custom Watermark.
- Choose Picture Watermark and select a picture, or choose Text watermark and type your watermark text in the Text box.
- Click OK.
Next, save the watermark so you can use it in other documents.
- Double-click near the top of the page, to open the header.
- Move the cursor over the watermark until the cursor displays a four-headed arrow, and then click the watermark to select it.
- On the Design tab, in the Page Background group, choose Watermark.
- Select Save Selection to Watermark gallery.
- Give the watermark a name, and click OK.
To insert your custom watermark in another document, select it under General in the gallery of watermarks.

Designed with WordPress
