Change margins
Applies To
In Word, each page automatically has a one-inch margin. You can customize or choose predefined margin settings, set margins for facing pages, allow extra margin space to allow for document binding, and change how margins are measured.
- Select Layout > Margins.
- Select the margin configuration you want, or select Custom Margins to define your own margins.

Create newsletter columns
Applies To
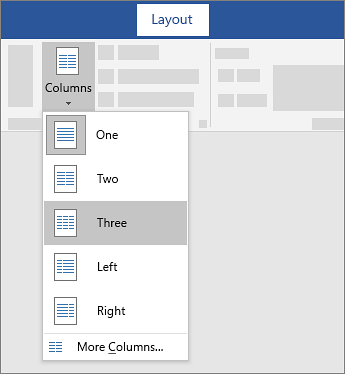
- To lay out the whole document in columns, select Layout > Columns.
- Choose the option you want, or choose More Columns to set your own column format.
Make part of your document into columns
- Select the paragraphs you want to lay out in columns.
- Select Layout > Columns, and then choose the options you want.
Change page orientation to landscape or portrait
Applies To
Change orientation of whole document
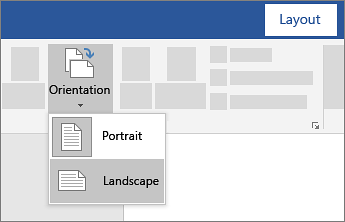
- To change the orientation of the whole document, select Layout > Orientation.
- Choose Portrait or Landscape.
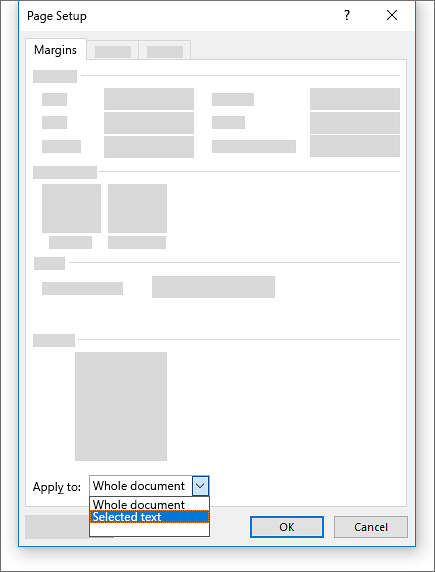
Change part of a document to landscape
- Select the content that you want on a landscape page.
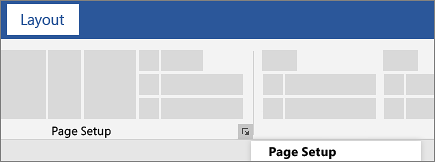
- Go to Layout, and open the Page Setup dialog box.
- Select Landscape, and in the Apply to box, choose Selected text.
Add a border to a page
Applies To
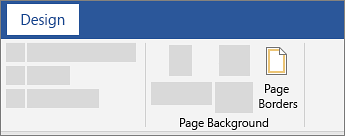
- Go to Design > Page Borders.
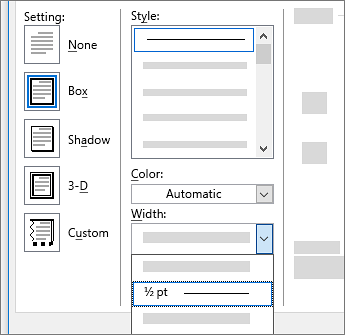
- Make selections for how you want the border to look.
- To adjust the distance between the border and the edge of the page, select Options. Make your changes and select OK.
- Select OK.

Insert a header or footer
Applies To
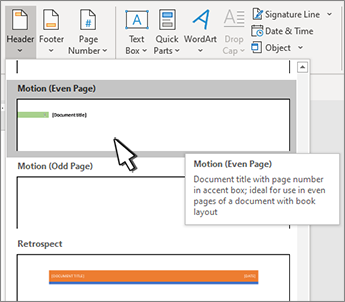
- Go to Insert > Header or Footer.
- Choose the header style you want to use.Tip: Some built-in header and footer designs include page numbers.
- You can add or change the text in the header or footer. To edit an existing header or footer, double-click it. For more information on things you can do with headers, go to Edit your existing headers and footers.
- To eliminate a header, for example, deleting the header on a title page, select it and then check the Different First Page box.
- Select Close Header and Footer or press Esc to exit.
To delete, select Insert > Header (or Footer) > Remove Header (or Remove Footer).
A header or footer can contain text, information about the document, or even images. You can create one header or footer for the whole document, or have a different header or footer for the first page, odd. and even pages, or even multiple sections.
Note: The best way to work with headers and footers is in Word on a laptop or desktop computer, rather than in a web browser or mobile app.
Insert page numbers
Applies To
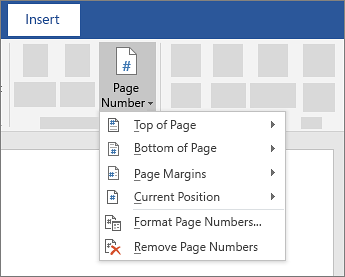
- On the Insert tab, select
Page Number, and then choose the location and style you want.
- If you don’t want a page number to appear on the first page, select Different First Page.
- If you want numbering to start with 1 on the second page, go to Page Number > Format Page Numbers, and set Start at to 0.
- When you’re done, select Close Header and Footer or press Esc.
Tip: To get back to a header or footer to make changes, double-click in the header or footer area.
A header or footer can contain text, information about the document, or even images. However, the most common elements in a header or footer are page numbers. Page numbers can be continuous though a document, all but the first page, or start over in each section.
Note: The best way to work with page numbers is in Word on a laptop or desktop computer, rather than in a web browser or mobile app.
Insert a page break
Applies To
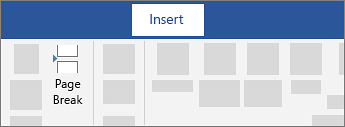
- Put your cursor where you want one page to end and the next to begin.
- Go to Insert > Page Break.
Tip: If Word puts a new page in your document unexpectedly, it might be because of a page break. To view page breaks so that you can select and delete them, go to Home > Show/Hide .

Insert a table of contents
Applies To
A table of contents in Word is based on the headings in your document.
Create the table of contents
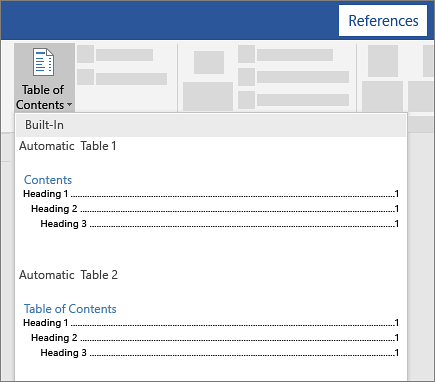
- Put your cursor where you want to add the table of contents.
- Go to References > Table of Contents. and choose an automatic style.
- If you make changes to your document that affect the table of contents, update the table of contents by right-clicking the table of contents and choosing Update Field.
To update your table of contents manually, see Update a table of contents.
If you have missing entries
Missing entries often happen because headings aren’t formatted as headings.
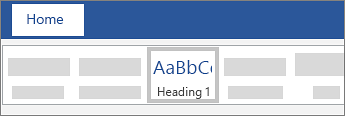
- For each heading that you want in the table of contents, select the heading text.
- Go to Home > Styles, and then choose Heading 1.
- Update your table of contents.
Update a table of contents
Applies To
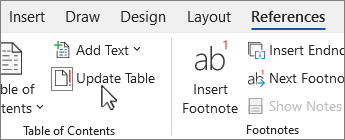
- On the References tab, select
Update Table.
- Select one of the following:
- Update page numbers only This only updates the pages that the headings are on, and ignores any changes to the heading text.
- Update entire table This will reflect any updates to the heading text, as well as any page changes.
- Select OK.
Note: Manually created tables (not created automatically from the headings), can’t be updated by Word. You’ll need to manually type your changes in the table of contents.
