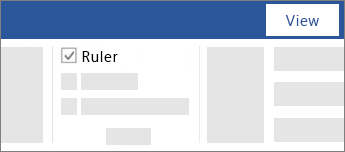
Show the ruler
Applies To
- Go to View and select Ruler.
- To show the vertical ruler
- Go to File > Options > Advanced.
- Select the Show vertical ruler in Print Layout view under Display.
Rotate a picture or shape
Applies To
Try it!
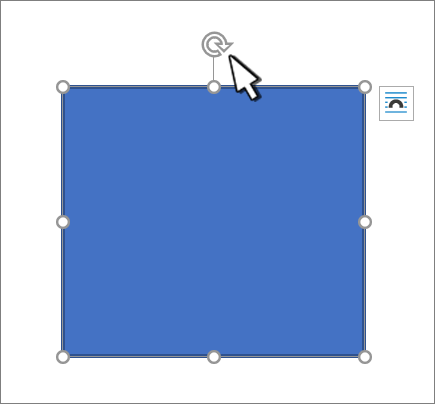
Manually rotate a picture or shape
- Select the picture or shape.
- Manually rotate the text box by selecting the shape or picture rotation handle and dragging in the direction you want. To keep the rotation to 15 degree angles, press and hold Shift while you drag the rotation handle.
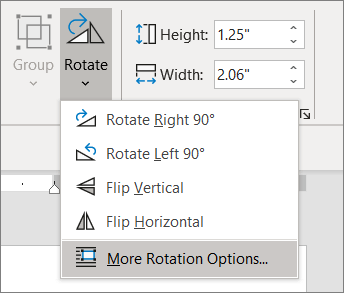
Rotate a picture or shape a specific amount
- Select the picture or shape. This will open the Shape Format or Picture Format ribbon.
- Select Rotate. Use any of the rotation commands in the list, like Flip Horizontal.
- Select More Rotation Options and enter the precise amount in the Rotation box.
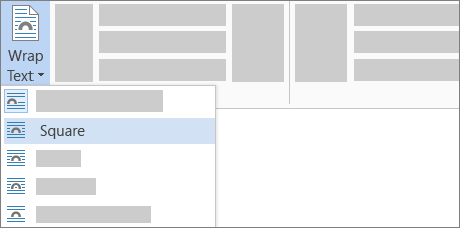
Wrap text around a picture in Word
Applies To
- Select the picture.
- Select Layout Options.
- Select the layout you want.Tip: In Line with Text puts the picture in a paragraph, just as if it were text. The picture will change position as text is added or removed. The other choices let you move the picture around on the page, with text flowing around it.
For more info on text wrap options and wrap points, see Text wrapping options.
Position a picture in the upper-left corner of a document
You can add a picture in the top left corner of a document and have the text flow around it.
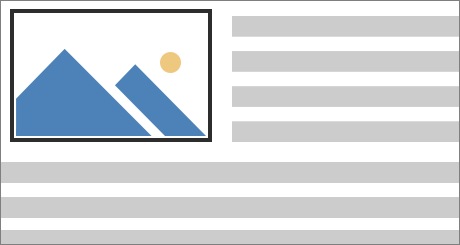
- Select a picture.
- Go to Picture Format or Format > Position, and under Format with Text Wrapping, select Top Left.
Tip: You can drag the image around the document and align it any way you like. Make custom changes to word wrapping by selecting Format > Wrap Text > More Layout Options.
Position a picture in the center of a document
You can add a picture in the center of a document and have the text flow around it.
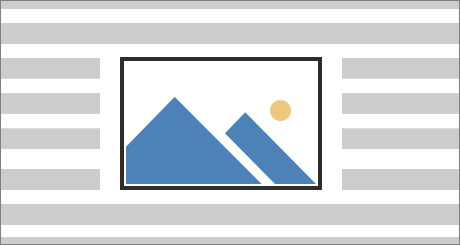
- Select a picture.
- Go to Picture Format or Format > Wrap Text > Square.
- Select Position > More Layout Options.
- On the Position tab, select Alignment, and change the drop-down field to Centered.
- Next to relative to, choose Page, and select OK.Note: You can drag the image around the document and align it any way you like. Make custom changes to word wrapping by clicking Format > Wrap Text > More Layout Options.
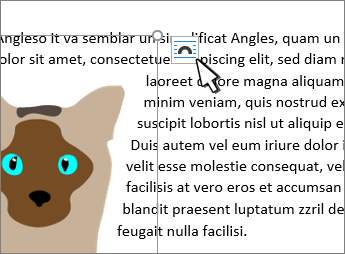
Use wrap points to adjust text flow around a shape
You can add an image in your document and make the text flow around it in a way that follows the shape of the image.
Tip: For best results, use a picture with a transparent, white, or solid colored background.
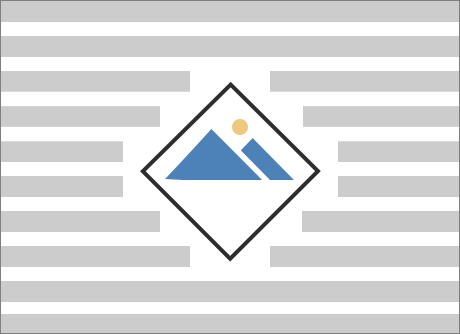
- Select a picture and drag it to the middle of the page, or wherever you want it.
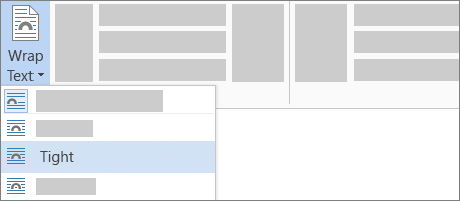
- Go to Picture Format or Format > Wrap Text > Tight.
- On the Format tab, select Remove Background.
Note: You cannot remove the background from vector images.
- Select anywhere outside the image to see how the text has wrapped around the image.
Fine-tune text wrapping
If there’s too much space between the text and your image, you can set the wrap points manually.
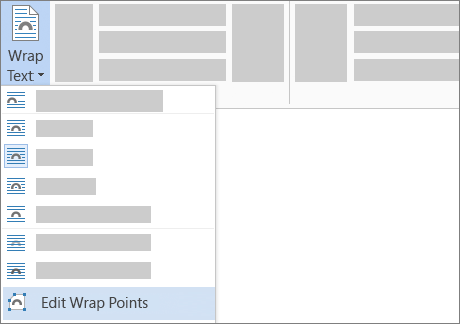
- Select the picture, and go to Picture Format or Format and select Wrap Text > Edit Wrap Points.
- Drag the black wrap points closer or farther away from your picture until you’re happy with its appearance. Drag the red line to create additional wrap points.
For more info on text wrap options and wrap points, see Layout options.
Position a picture in line with text
Pictures inserted in line are tied to the place within the text where they were inserted and are treated like any text character—”in line with text.” They automatically move with the surrounding text.
- Select a picture.
- Go to Picture Format or Format and select Wrap Text > In Line with Text.
Ensure that a picture stays put
You can make sure that your picture stays in place as text is added or deleted.
- Select a picture.
- Go to Picture Format or Format and select Wrap Text > Fix Position on Page.

Designed with WordPress
